Now let's help you get started by creating your first case. This can be divided into the following steps:
- Make sure all the case members have a TrustUS account
- Create a new case
- (Optional) Importing Your Own Cases
Inviting New Users
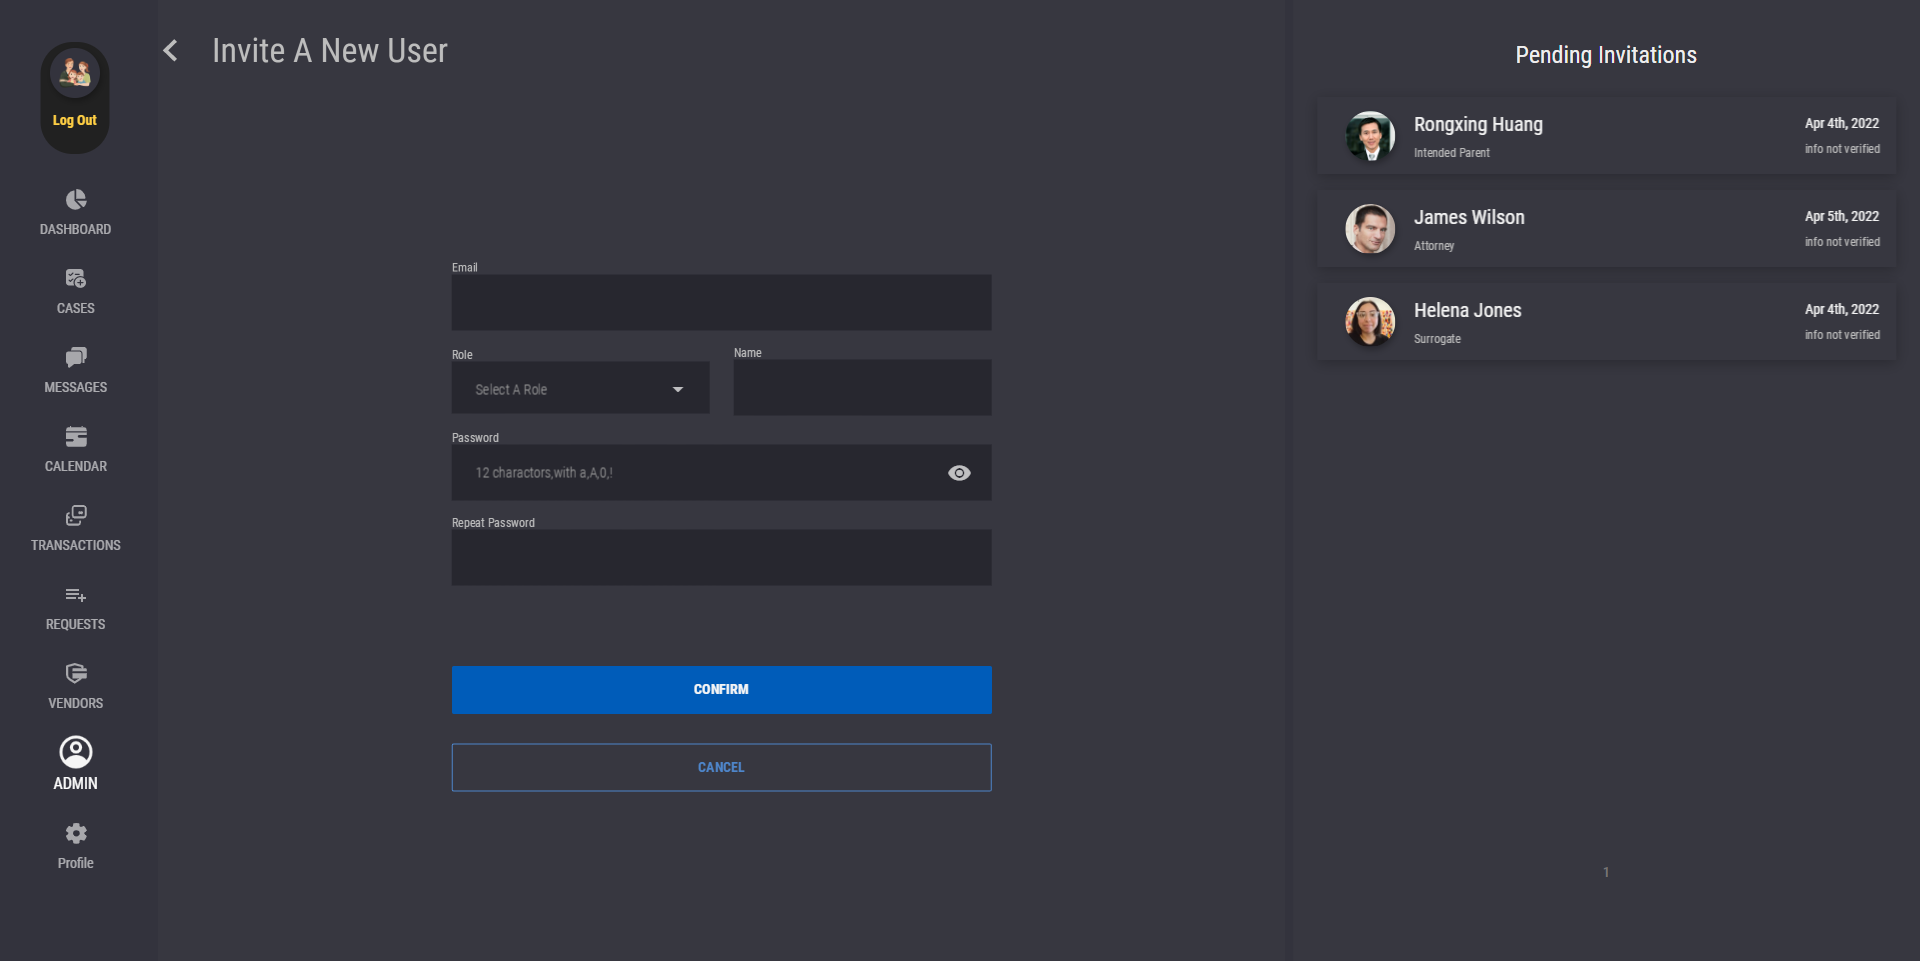
To invite a new user, you will create an account for the new user by filling out the invitation form. You must provide the following for the invited user:
- an email
- role
- name of the new user
- password
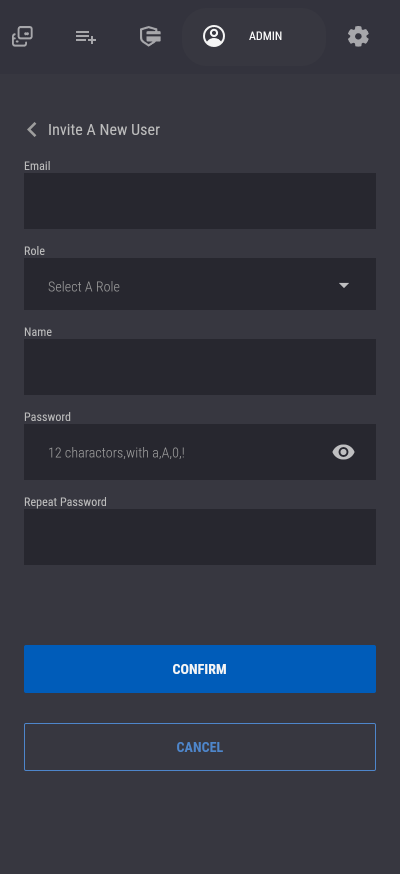
First, go to the "Admin" tab by using the tab bar on the left or top of the screen depending on if you're using the desktop or the mobile version.

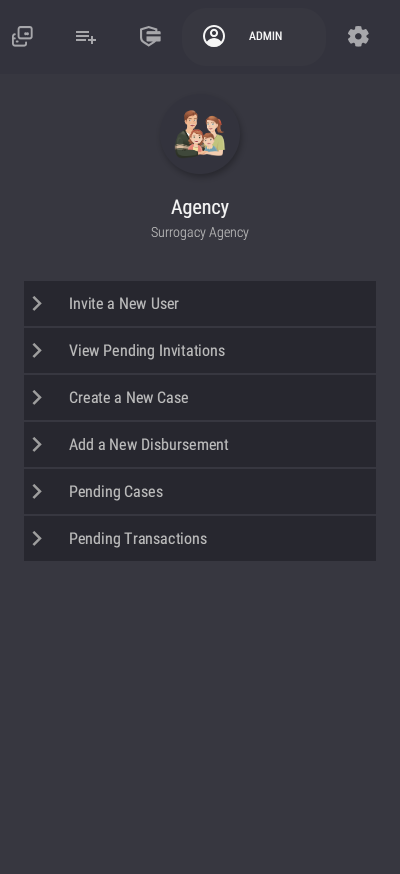
Then, press "Invite a New User" to add your case members to TrustUS. You can only invite one user at a time.

After inviting, you can go back to the admin panel to invite more users until all your case members have an account on TrustUS. You can also track the invitation's status in the "Pending Invitation" section of the "Invite a New User" page, or the "View Pending Invitations" button on the mobile Admin Panel page. However, regardless of the invitation's status, you are able to add those invited users when creating a new case.
Create a New Case
After having invited your case members, it is time to create your first case.
Follow How to Create a Case to create a new case.
Importing Your Own Cases
You can also add your own cases into TrustUS by importing them through a CSV file. The system will automatically create cases, and invite users as specified in the CSV file.
Getting the CSV Template
To import your cases through a CSV file, first you need to download the CSV template. Go to the "Admin" tab by using the tab bar on the left or top of the screen depending on if you're using the desktop or the mobile version. Then, select "Import Cases".

On the "Case Import" page, press the "Download" button and select "CSV Template" to download the CSV Template.

In the CSV Template, there are the following columns:
- Case Name (Optional): Manually specify the case name. If left blank, the case name will be automatically generated with the related members' names.
- Start Date: Specify the start date of the case. The date format should be yyyy-mm-dd, or yyyymmdd.
- Stage: Specify the stage of the case. Leave as "0" unless the case is not to be created with the initial stage.
- Type: The type of the case. "1" for surrogacy cases, and "0" for egg donor cases.
- Ledger Balance: The initial balance on the case's trust account.
- Minimum Retention: The minimum balance on the case's trust account. If the case's trust account balance goes below the "Minumum Retention", all case members will be alerted.
- Agency Email: The email of the agency user of the case. If left empty, then the "IdIP Email" column is required.
- Agency Name: The user name of the agency user.
- IdIP Email: The email of the independent intended parent user. If left empty, then the "Agency Email" column is required.
- IdIP Name (Optional): The user name of the independent intended parent user.
- GC Email: The email of the surrogate user.
- GC Name (Optional): The user name of the surrogate user.
- ED Email: The email of the egg donor user.
- ED Name (Optional): The user name of the egg donor user.
- IP Email: The email of the intended parent user.
- IP Name (Optional): The user name of the intended parent user.
- IP2 Email: The email of the 2nd intended parent user.
- IP2 Name (Optional): The user name of the 2nd intended parent user.
Edit your CSV file according to the CSV template, and fill in necessary columns accordingly. When finished editing your CSV file, Go to the "Case Import" page and press "Upload CSV".
Double-check to make sure that the information of the cases you've uploaded is correct, then press "Import All".
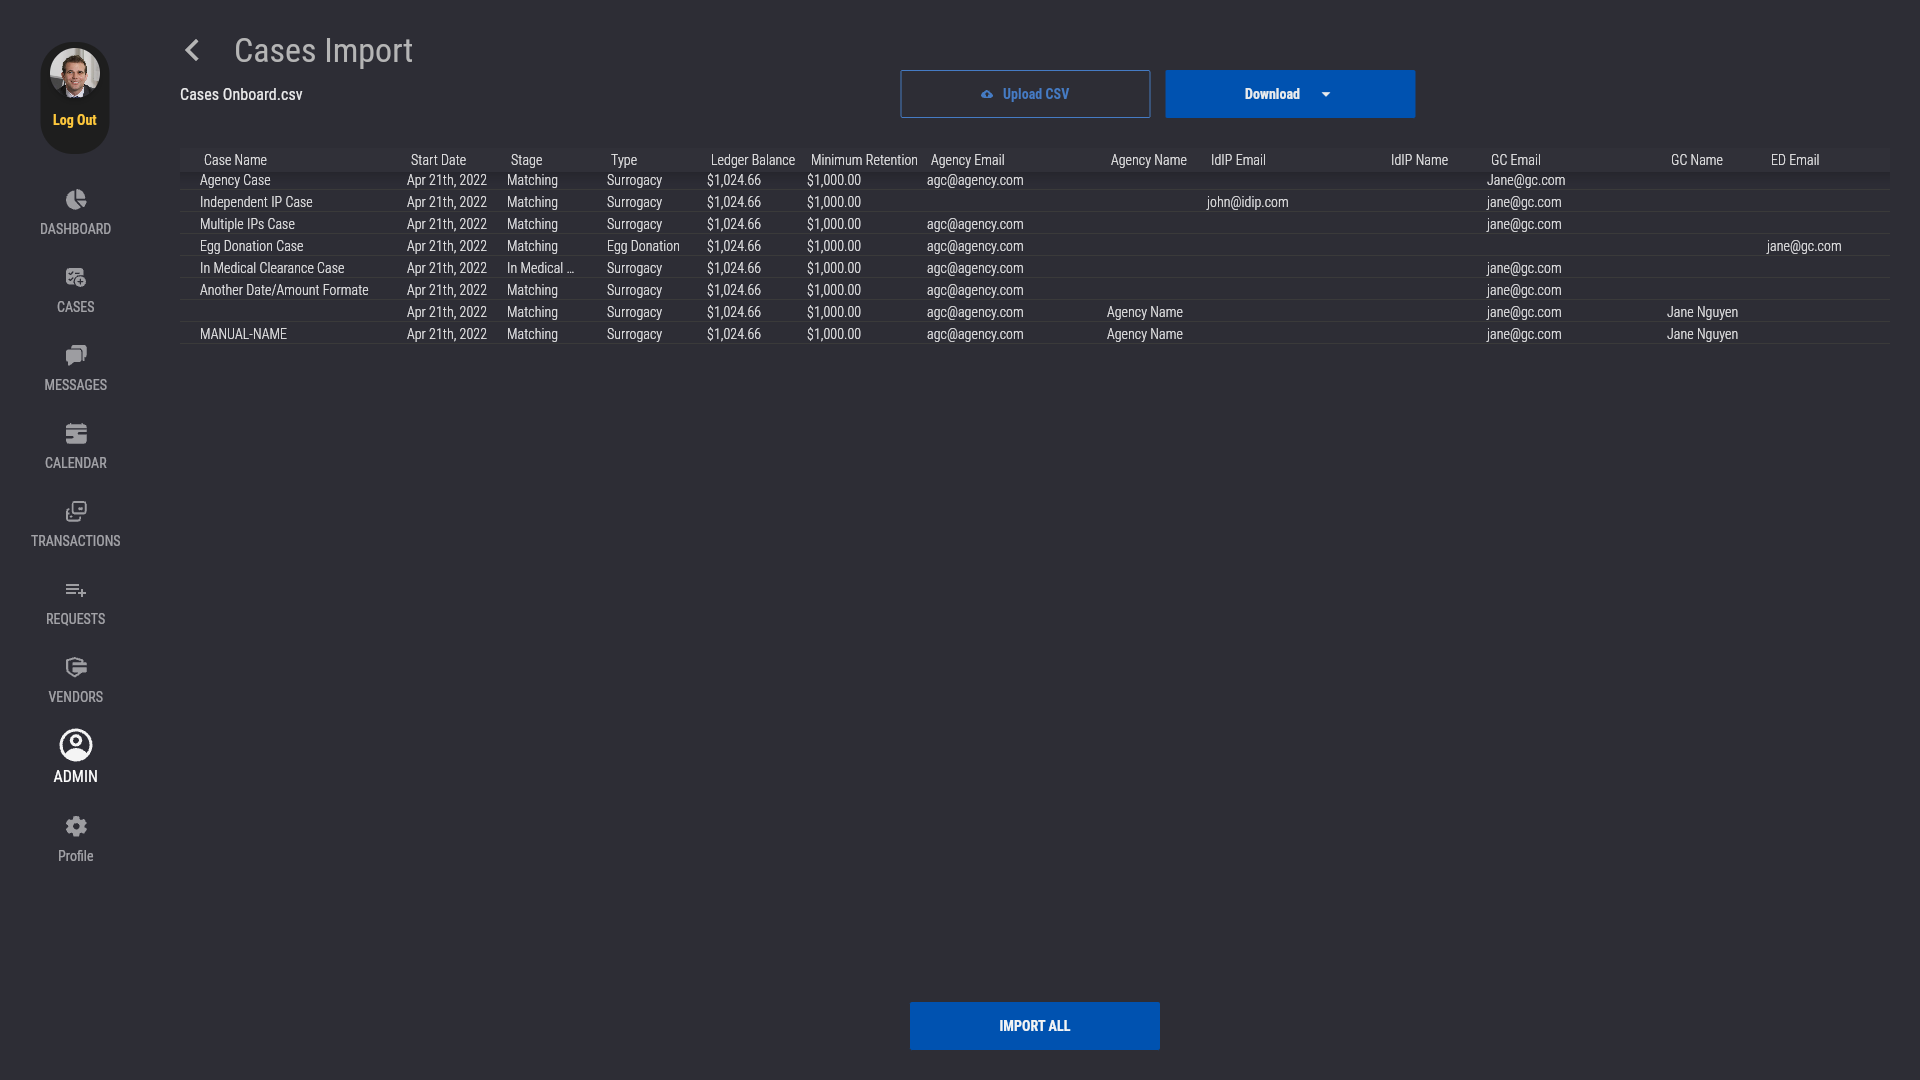
Now you should be able to see and manage your cases by going to the "Cases" tab on the tab bar.
|
Rate this Topic:
|
|||
|